
Automating and executing your resources in Azure with the help of Siri
Automating, executing and controlling your resources in Azure with the help of Siri
So you wrote an awesome PowerShell script and need a place to run it? ![]()
When I started working in IT, I has immediately facinated by Microsoft Azure. The possibilities there are endless and only your own imagination set’s the limits of what you can with the help of this platform.
A while back, I wrote a blog post describing my first publicly available PowerShell module, allowing you to control your Mitsubishi heat pump with the help of PowerShell. If you have missed it, it can be found here.
A super cool feature in Azure is Azure Automation. It allows you to automate and orchestrate tasks within Azure and accross external systems.
This got me thinking - could I combine these two elements and get some cool functionality out of it? Maybe also include some voice-controlling from my iPhone? ![]()
Let’s get going!
Create and configure an Azure Automation Account
The first thing to do when you start using Azure Automation is create an Automation account. Automation accounts are like Azure Storage accounts in that they serve as a container.
The first thing you need is a valid Azure Subscription. If you haven’t got this already, sign-up for a free trial here: https://azure.microsoft.com/en-gb/offers/ms-azr-0044p/
After successfully signed into the Azure portal, search for Automation in the top search bar:
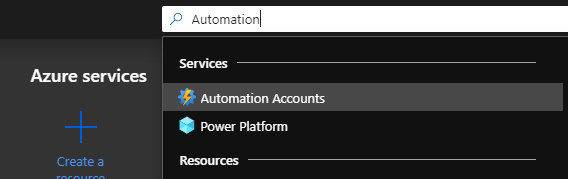
Select Automation Account from the available Services-list.
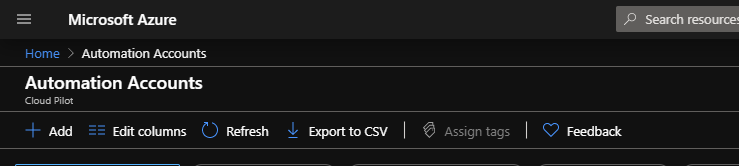
Next, click the Add button to create a new Automation Account.
In the next window you’ll need to fill in some information.
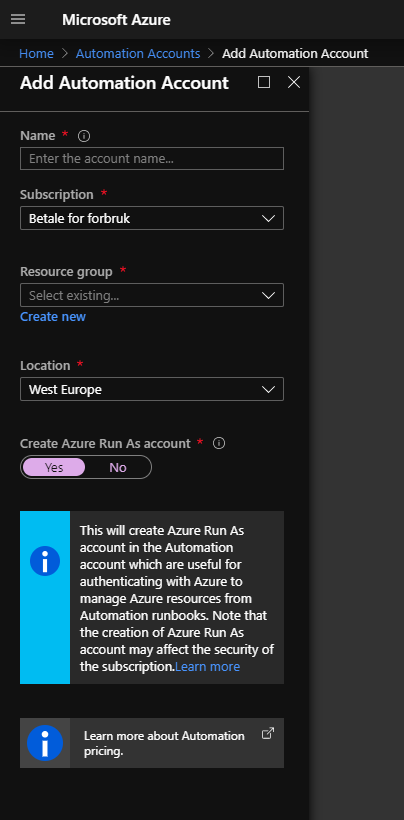
Enter a suitable name in the Name box,
Select your Subscription,
Select or create a Resource group
What is a resource group you say? I will describe it as a logical container that can hold all of your shared resources. They also provide a way to monitor, control access, provision and manage billing for collections of assets that are required to run an application, or used by a client or company department.
Finish off the creation by clicking the Create button on the bottom of the page.
Now that your Automation Account is in place, you’ll need to create a Runbook inside of it.
There are multiple types to choose from.
Oveview of different Runbook types:
| Type | Description |
|---|---|
| PowerShell | Text runbook based on Windows PowerShell script |
| PowerShell Workflow | Text runbook based on Windows PowerShell Workflow. |
| Python | Text runbook based on Python. |
| Graphical PowerShell Workflow | Based on Windows PowerShell Workflow and created and edited completely in the graphical editor in Azure portal. |
| Graphical | Based on Windows PowerShell and created and edited completely in graphical editor in Azure portal. |
You’ll find more information regarding the different runbook types by heading over to Microsoft Docs.
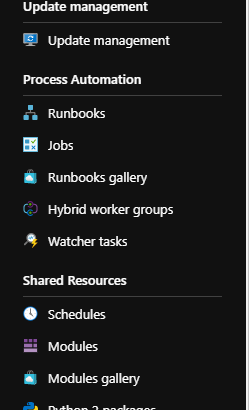
Under Process Automation in your newly made Automation Account, select Runbooks.

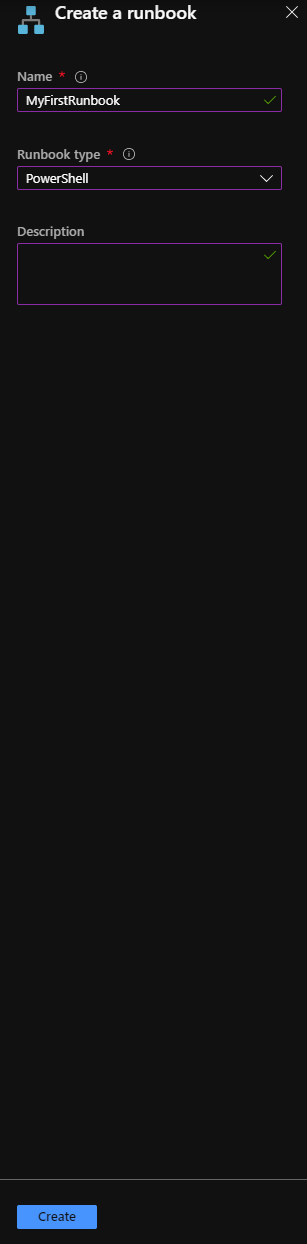
This opens the Create a runbook blade:
- Enter a suitable name for your Runbook.
- In this blog post we will focus on the PowerShell Runbook so select this one under Runbook type.
- Fill in a Description text if you like.
- Finish of the creation by hitting the blue Create-button on the bottom of the page.
When you click the name of your new Runbook, you’ll see someting like this:
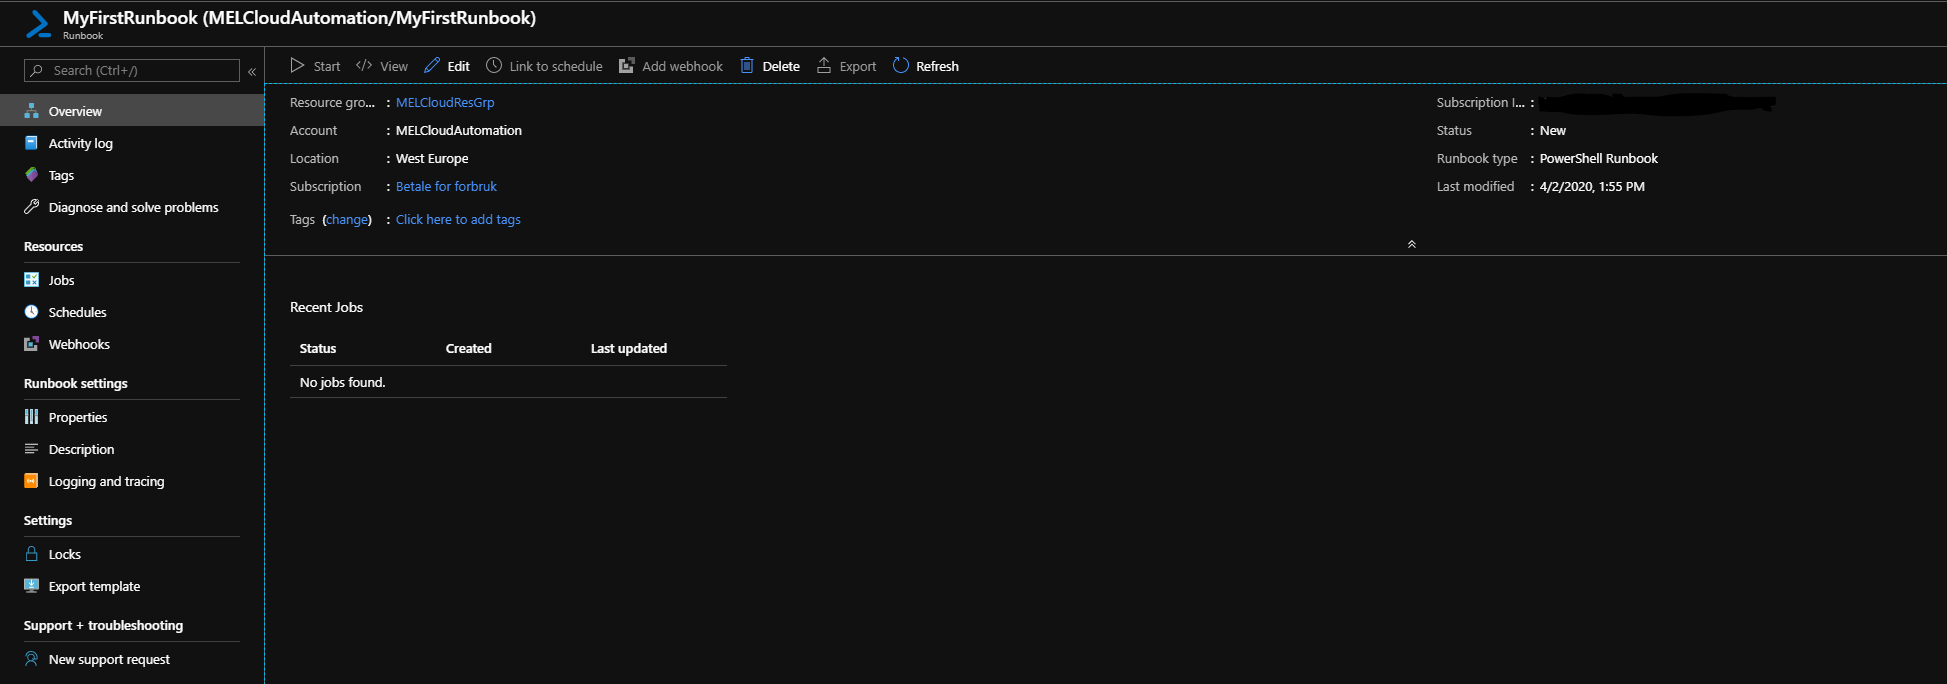
On the main bar, select Edit.

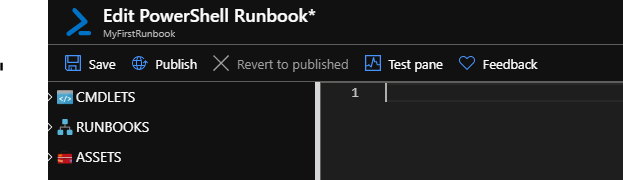
You are now able to start authoring your runbook using standard PowerShell Workflow syntax. Here you could potentially write scripts that targets your own resources deployed in Azure (maybe for Start / Stop your VMs during off-hours?) among all other things you normally use PowerShell for.
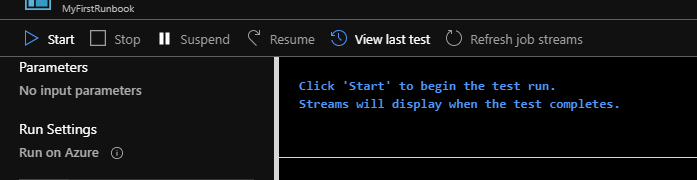
When you are happy with your newly created masterpiece, you’ll have the ability to test your script. This could be done by clicking Test pane in the main bar, and then choosing Start.
Starting an Azure Automation runbook with a webhook
A webook allows an external service to start a particular runbook in Azure Automation through a single HTTP request.
Any external application able to send a HTTP Post could potentially be used to start your Azure runbook using the Azure Automation API.
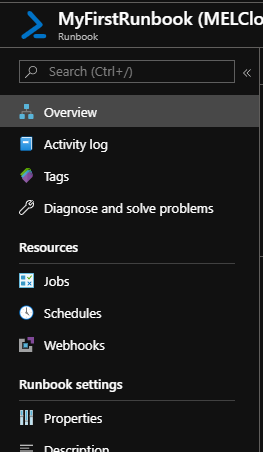
Inside your Runbook, select Webhooks under Resources.
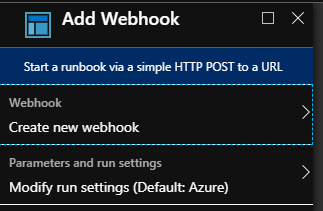
Select Add Webhook on the main bar, and then click Create new webook.
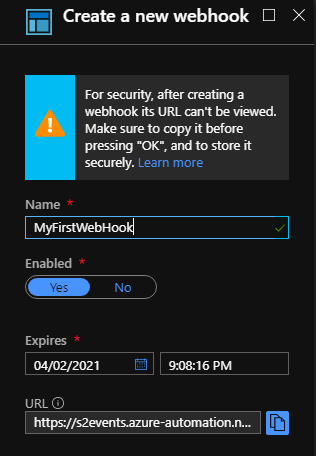
Give it a suitable name, verify that it is enabled, set disired expiration date and don’t forget to copy the URL at the bottom. Press OK at the buttom to close the blade.
Now that we have both a working PowerShell script and a webhook ready to be used, how could we utilize them in a simple way?
Hey Siri
Ok, let’s look into how you can use Apple’s very own Siri to execute and control your script’s running in Azure.
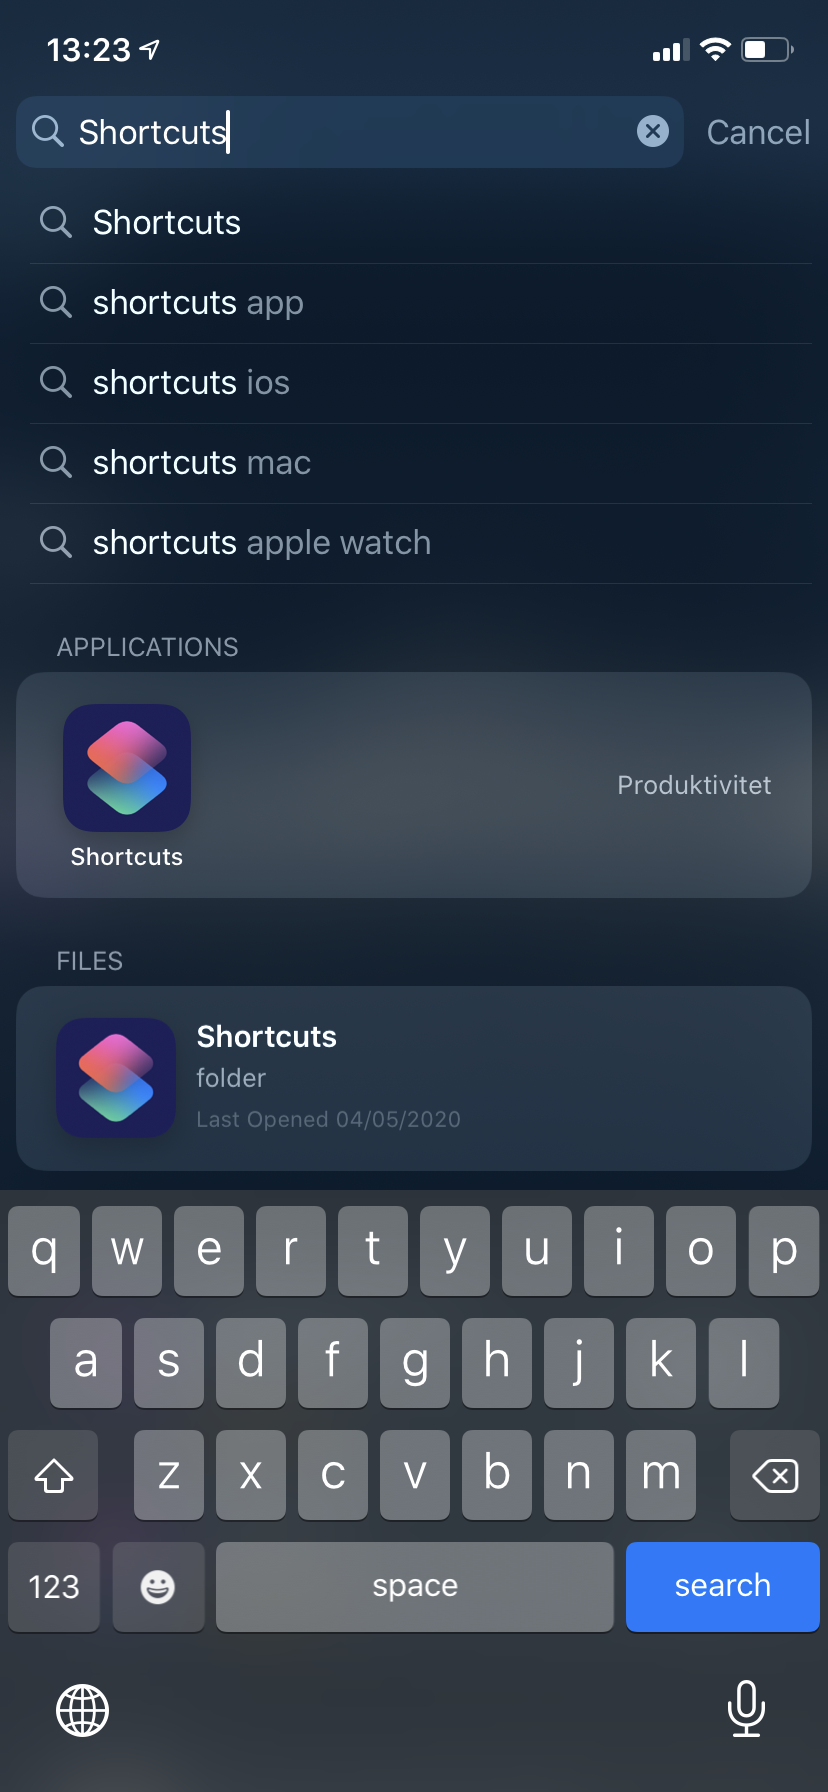
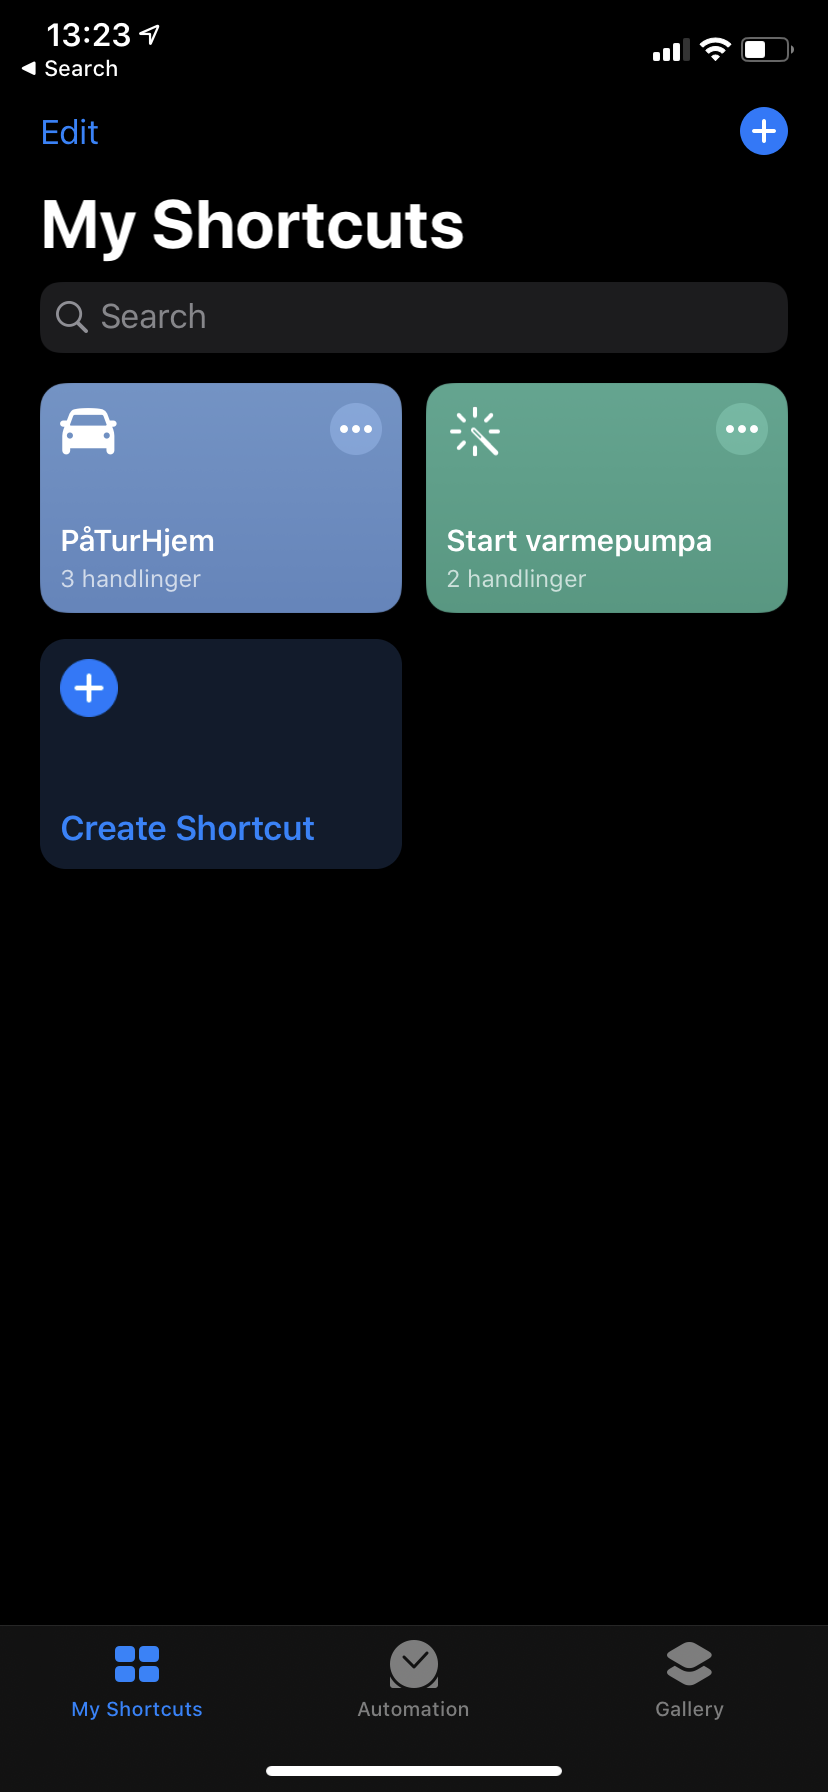
First of all, open the Shortcuts app on your phone.
Select the Plus icon on the top, right side to create a new Shutcut.
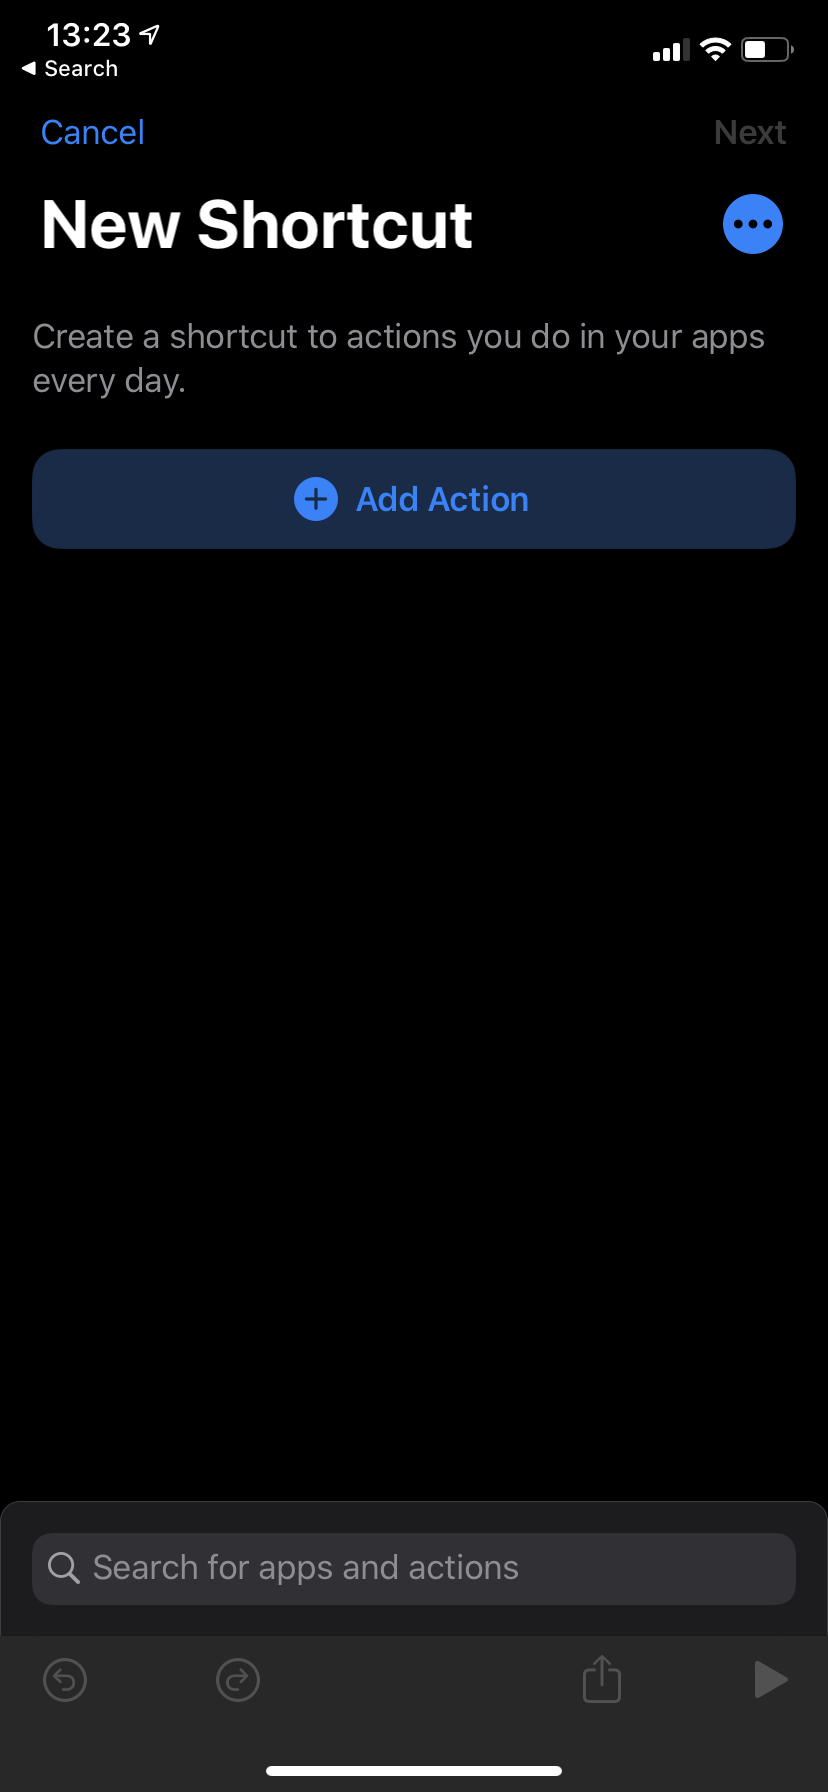
Then, select the Add Action button on the middle of the screen.
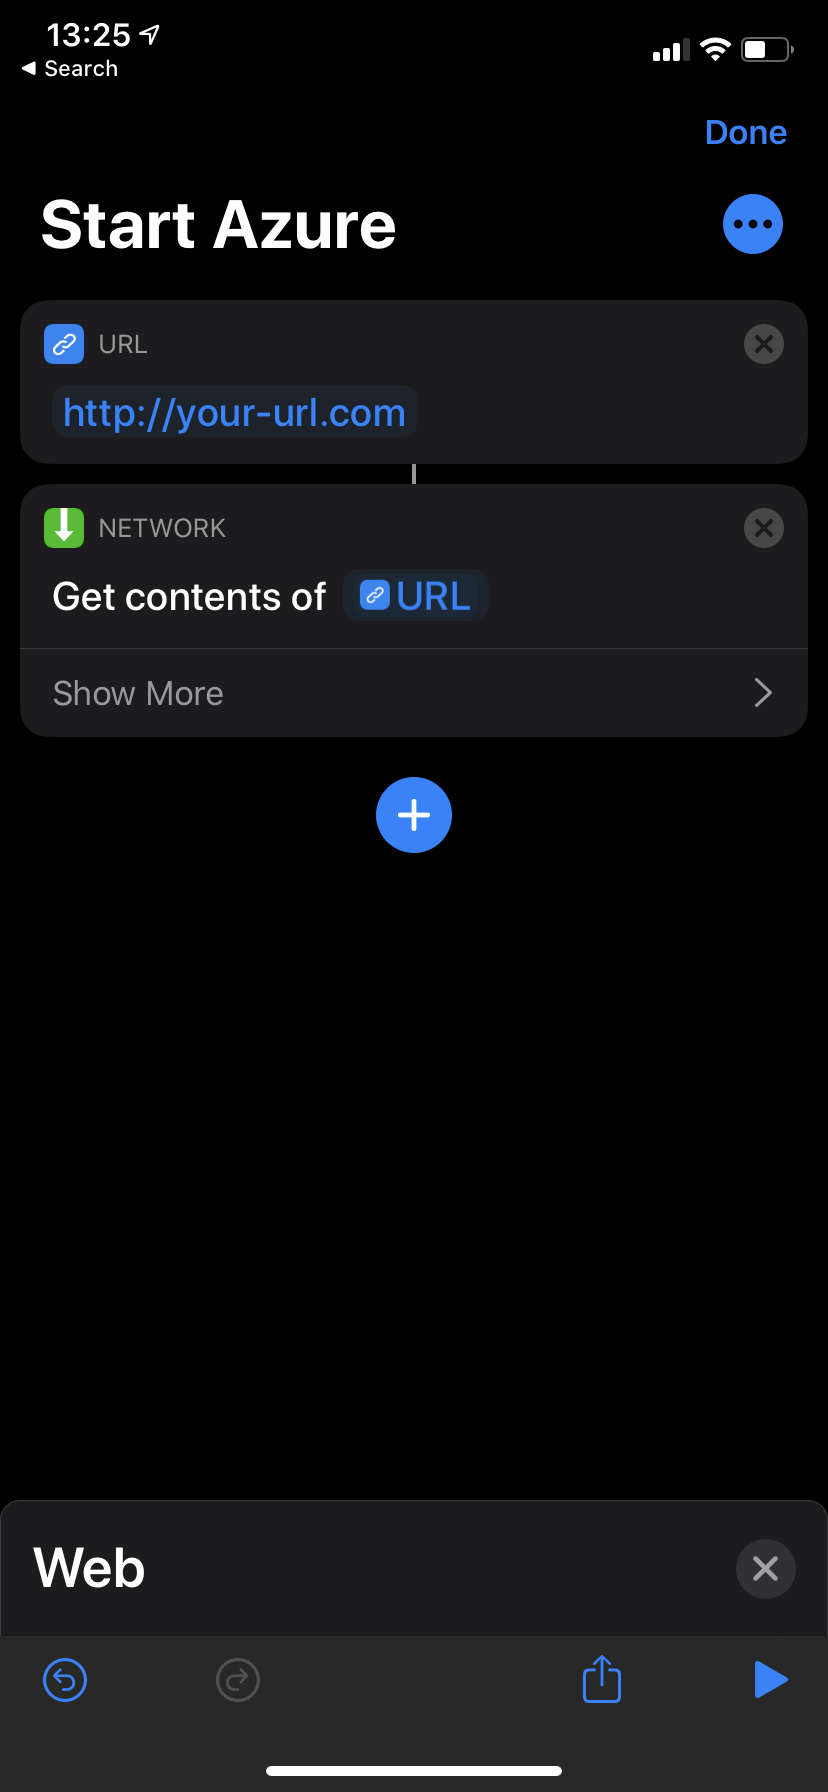
Add a new URL action and don’t forget to enter your webhook URL that you got when you created your webhook in Azure.
Next, add another action by selecting the plus icon and search for Get Content of URL into the top search-bar. Click on the right action to add it into your Shortcut.
Now your Shortcut should look something like this:
Select the Show more option and change the Method from GET into POST. Confirm that the Request Body is set to JSON.
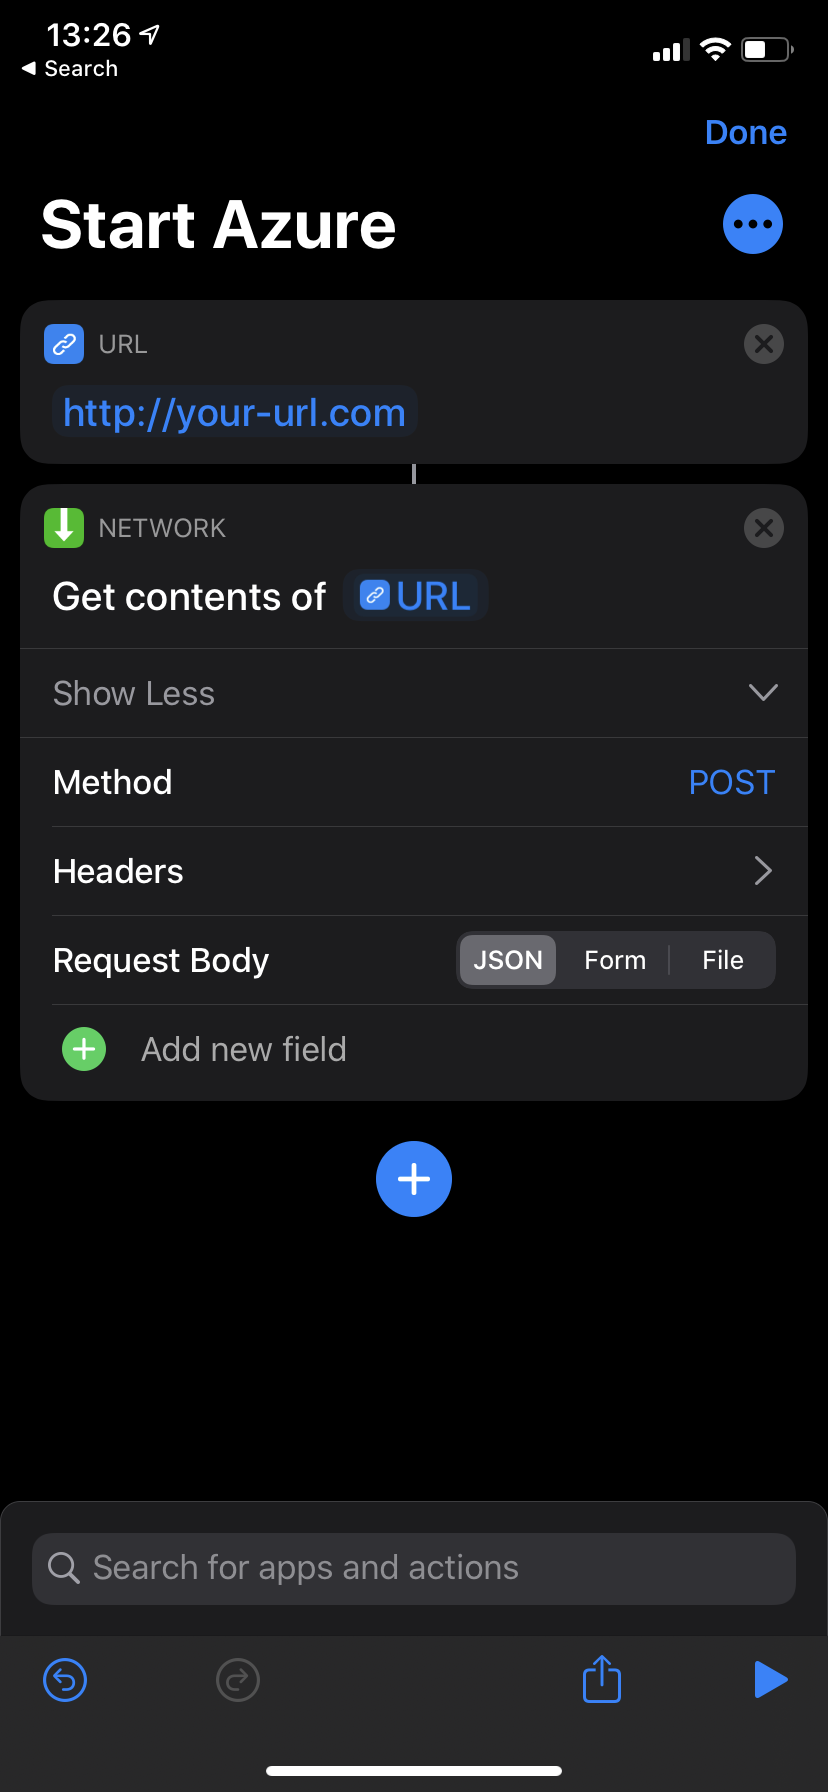
New done, select Next on the top right.
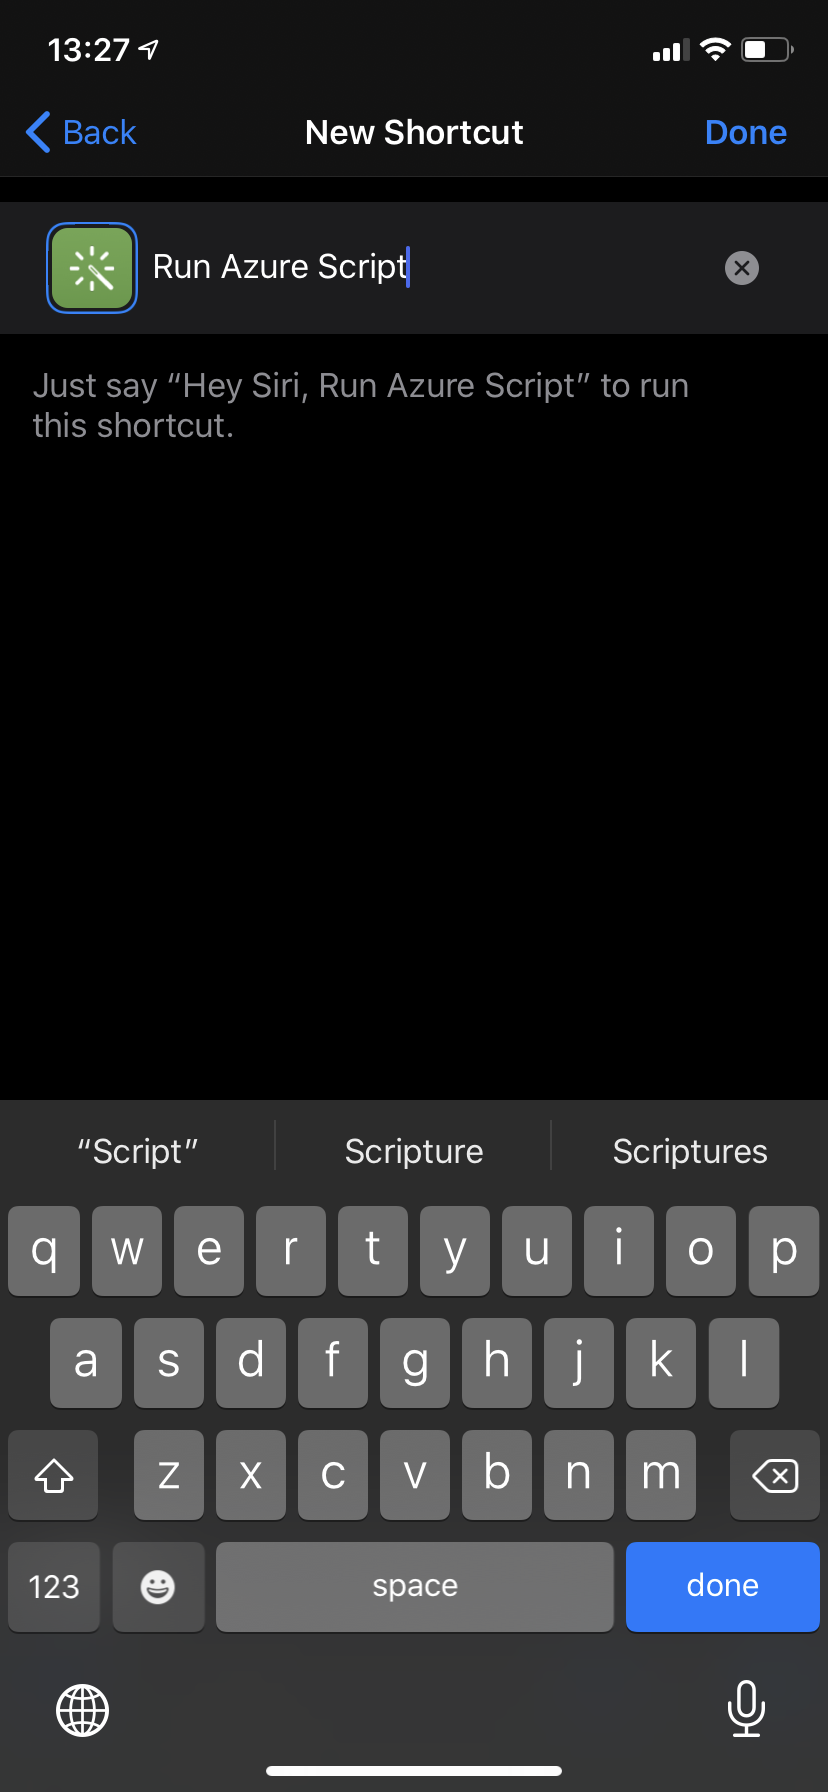
Now it’s time to name your new Shortcut. As you can see from my example below, I’ll named my new Shortcut for Run Azure Script.
When I want to execute a POST request against my webook in Azure and fire off my PowerShell script, I simply have to wake up Siri, and say:
Hey Siri, run Azure script.
You have now combined the superpowers of Azure with the voice-controlled functionality of Siri.
Isn’t this the coolest thing? ![]()
Hope someone found this guide helpful.
Freddie
Comments